

Homemade Marshmallow Recipe
These homemade marshmallows are gluten free, made with gelatin and honey instead of corn syrup or refined sugar. They take 20 minutes to make and a few hours to set, and the result is genuinely fluffy marshmallows that taste amazing and are miles ahead of anything from a packet.
Prep Time | Setting Time | Yield | Difficulty |
20 mins | 2–5 hours | ~40 marshmallows | Easy |
Ingredients
1⅓ cups water, divided in half (cold and boiled separately)
3 tbsp powdered gelatin (unflavoured, grass-fed if possible)
1 cup pure, raw honey
1 tsp vanilla extract
Pinch of salt
Arrowroot starch or icing sugar, for dusting
Note: Standard marshmallow recipes typically use granulated sugar, light corn syrup and unflavored gelatin. This homemade marshmallow recipe uses honey as a natural, wholesome alternative to corn syrup. It performs the same technical role in preventing crystallisation, without the high fructose. This recipe is also nut free and gluten free.
Equipment: A stand mixer fitted with the whisk attachment gives the best results. A hand-held electric mixer works too. A hand whisk alone is not sufficient for this recipe.
How to make Homemade Marshmallows
Have your prepared pan ready before you start whipping. The marshmallow mixture sets fast.
Prepare your baking dish – Lightly grease a 9″ × 11″ baking pan or baking dish with nonstick cooking spray or a little vegetable oil, then line with parchment paper (baking paper), leaving extra on the sides for easy removal. Set the prepared pan aside at room temperature.
Bloom the gelatin – Add the powdered gelatin to the stand mixer bowl along with ⅔ cup cold water. Stir briefly and leave to bloom. The gelatin mixture will absorb the cold water and become thick. Blooming gelatin properly before combining it with the hot honey syrup is essential; skip or rush this step and the marshmallows won’t set correctly.
Make the honey syrup – In a saucepan over medium heat, bring the remaining ⅔ cup of water to a boil. Add the honey, vanilla extract and a pinch of salt. Let the honey syrup boil for 1 minute. If using a thermometer, the syrup should reach 115–118°C (240–245°F) — the soft ball stage — which is the key to achieving the right chewy marshmallow texture. Without a candy thermometer, a vigorous rolling boil for the full minute on medium heat is a reliable guide. Make sure all the sugar dissolves fully before moving to the next step.
Combine – With the stand mixer running on low speed using the whisk attachment, slowly pour the hot honey syrup into the gelatin mixture in a thin, steady stream. Take care! It is extremely hot. Pour slowly and consistently.
Whip to fluffy peaks – After about 1 minute on low, turn the stand mixer to high speed and beat for 8–10 minutes. The marshmallow mixture should become thick, glossy and white. Similar in appearance to stiffly whipped egg whites.
Fluffy marshmallows come entirely from this step: under-whip and they’ll be dense; whip to stiff, glossy peaks and they’ll be perfectly pillowy. Let the mixture cool slightly in the bowl if it feels very hot before transferring. Once thick, you can optionally add a few drops of food colouring or flavour extracts in the last 1–2 minutes of whipping. Adding them too early can deflate the mixture.
Transfer to pan – Working quickly with a lightly oiled spatula to avoid a sticky mess, pour the marshmallow mixture into your prepared pan and smooth the top evenly. The mixture cools and sets quickly at room temperature, so don’t delay.
Set – Leave at room temperature for a minimum of 2 hours, ideally 4–5 hours or overnight. Do not refrigerate. Cold air causes the homemade marshmallows to weep and become sticky. Room temperature is the only way.
Humidity tip: Avoid making homemade marshmallows on humid or rainy days. Moisture in the air makes them sticky regardless of how well you dust them.
Cut and dust – Once set, generously dust your cutting board with a mixture of arrowroot starch and icing sugar (or use powdered sugar / confectioners sugar if that’s what you have). Flip the marshmallow slab out onto the cutting board. Use a sharp knife or pizza cutter — lightly dust the blade too — to cut marshmallows into squares of your preferred size. For mini marshmallows, simply cut smaller. Toss each piece in the dusting powder to coat all sides and lightly dust the tops before storing.
Tip: If your cut marshmallows aren’t sweet enough, a sprinkle of extra icing sugar, powdered sugar, or confectioners sugar on top fixes it instantly.
Recipe Notes and Variations
Flavour extracts: You can flavour homemade marshmallows with peppermint, coconut, lemon, maple or almond extract. Start with ½ tsp and adjust to taste. Add in the last 1–2 minutes of whipping once the marshmallow mixture is already thick.
Food colouring: A few drops of gel food colouring added with your extract of choice gives pastel pink marshmallows or any other colour. For a marbled effect, add food colouring after pouring into the prepared pan and swirl with a skewer. You can also divide the marshmallow mixture and add different food colouring to each portion for layered results.
Fruit-flavoured marshmallows: Add freeze-dried fruit powders during the last minute of whipping. They enhance both colour and flavour naturally, with no food colouring needed.
Chocolate: Dust cut marshmallows in a mixture of sugar and cornstarch combined with cocoa powder, or dip in melted chocolate (or finely chopped chocolate melted down) once fully set.
Sweetener swaps: Maple syrup or golden syrup work as a 1:1 substitute for honey. Both behave similarly to light corn syrup in preventing sugar crystals from forming. Avoid swapping to caster sugar or granulated sugar without adjusting technique — dissolving caster sugar requires stricter temperature control and changes the process.
For firmer marshmallows: Use a candy thermometer to ensure your honey syrup reaches the upper end of the soft ball stage (118°C / 245°F). A higher syrup temperature produces a chewier, firmer result.
For softer marshmallows: Pull the syrup off the heat at the lower end of the range (115°C / 240°F). A lower honey syrup temperature produces a softer, more pillowy texture.

How to use homemade marshmallows
Rocky road: The star ingredient in our Persian Rocky Road recipe. Chop homemade marshmallows into pieces and fold through melted chocolate with your preferred toppings.
Rice Krispie treats: Substitute homemade marshmallows directly for store-bought in any recipe. Melt gently in a saucepan with butter and mix through puffed rice.
Toppings: Cut into mini marshmallows and scatter over oatmeal, hot cocoa, or fruit salads.
Gifting: Dust well in a sugar and cornstarch or icing sugar mixture, pack into a glass jar, and tie with ribbon.
Hot chocolate or hot cocoa: Float a few in a mug of hot drinking chocolate made with raw cacao powder. They melt slowly into a creamy, sweet layer on top. Far better than mini marshmallows from a bag.
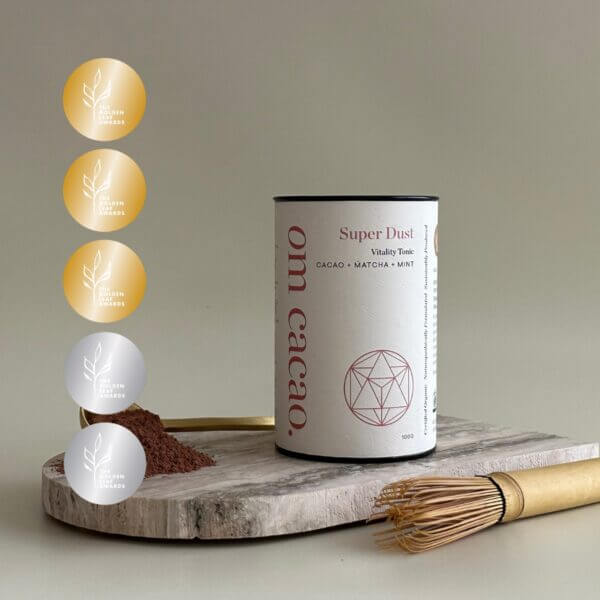
Matcha cacao blended with superherbs for natural energy and enhanced stamina.
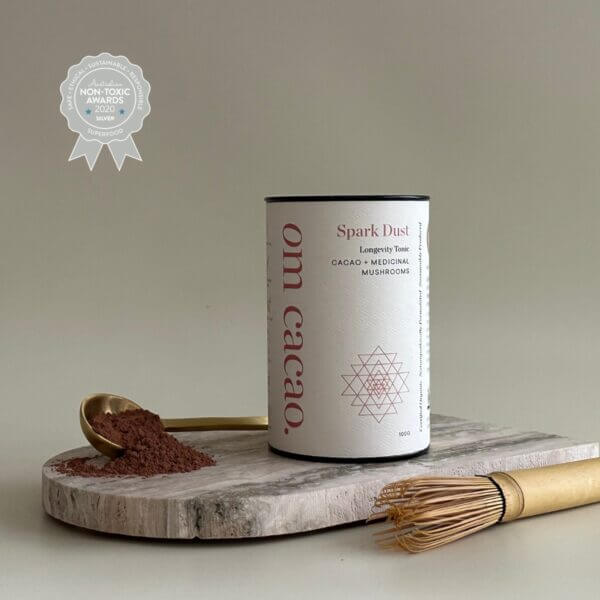
Raw cacao mixed with medicinal reishi mushroom powder for vitality and immune health.
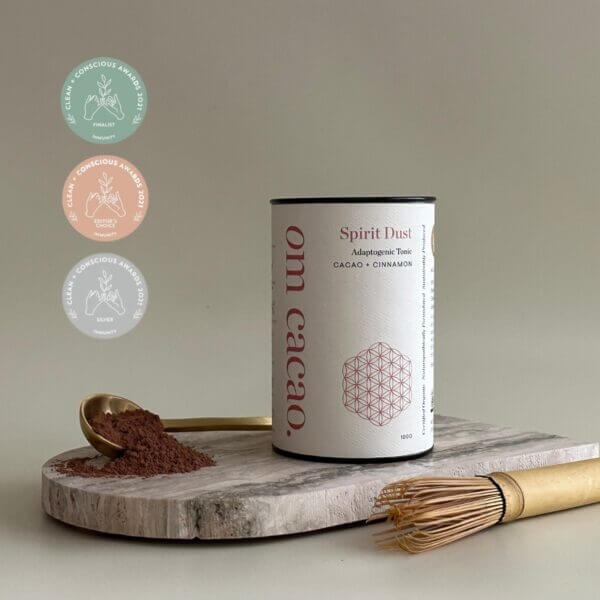
Raw cacao mixed with cinnamon, ashwagandha and ginger to help resist symptoms of stress.

Raw cacao mixed with superherbs to improve fertility and enhance sexual performance for both men and women.

Raw cacao mixed with Triphala, Chicory and Dandelion to improve complexion and skin health.

Raw cacao mixed with turmeric, ginger and black pepper formulated to calm inflammation and soothe digestion.
Why gelatin and honey instead of corn syrup?
Most commercial and many homemade marshmallow recipes use light corn syrup as their base. In confectionery, a boiled mixture — the sugar syrup — prevents crystallisation and gives a smooth texture. Corn syrup does its technical job well, but it’s an industrially processed sweetener. A 2024 review published in the NIH’s National Library of Medicine links excessive added fructose from processed sources like high fructose corn syrup to metabolic health concerns including insulin resistance and fatty liver disease, context worth having when you’re choosing what goes into a treat made from scratch.
Honey performs the same anti-crystallisation function in the honey syrup while adding natural flavour and nutritional complexity that refined corn syrup simply doesn’t have.
The grass-fed gelatin is what creates the structure. Without it, all you’d have is sweet syrup. Gelatin is the protein that traps the whipped air and gives homemade marshmallows their fluffy texture. Grass-fed gelatin also provides collagen peptides. A 2023 peer-reviewed study found that collagen peptide supplementation improved joint function and reduced pain in active adults over six months, making grass-fed gelatin worth choosing over alternatives that offer nothing beyond setting power.
Good-quality unflavoured powdered gelatin is non-negotiable. Cheap gelatin can leave an aftertaste and may not set as firmly.
Common mistakes to avoid
Not moving fast enough after whipping. The marshmallow mixture starts setting the moment it’s done. Have your prepared pan lined with parchment paper and ready at room temperature before you turn the stand mixer to high.
Pouring the honey syrup too fast. Add it in a thin, slow stream with the mixer on low.Pouring all the hot honey syrup in at once risks scrambling the bloomed gelatin mixture before it can whip properly.
Skipping the dusting. Cut marshmallows will stick together without a thorough coat of arrowroot starch, powdered sugar, or confectioners sugar on all sides. Lightly dust all surfaces generously.
Refrigerating to speed up setting. Cold air causes condensation inside the homemade marshmallows, making them weep. Room temperature, undisturbed, is the only method.
Under-whipping. 8–10 minutes on high is not optional. The marshmallow mixture must look like stiff egg whites — white, glossy, and thick — before you stop. Under-whipped marshmallows will be flat and dense rather than fluffy.
Making them on a humid day. Humidity causes the homemade marshmallows to absorb moisture from the air, resulting in a sticky mess. Choose a dry day for perfect marshmallows every time.
Storage
Store cut marshmallows in an airtight container at room temperature with a generous layer of dusting powder — arrowroot starch, icing sugar, powdered sugar, or confectioners sugar — between each layer. Minimal air contact is the key to longevity; well-sealed homemade marshmallows keep far longer than most people expect. Do not refrigerate. If leftover marshmallows become slightly sticky after a few days, a fresh toss in dusting powder at room temperature brings them back.
Frequently Asked Questions
Yes. A hand-held electric mixer works, but expect to hold it at high speed for the full 8–10 minutes. Maintaining consistent speed is what creates the right texture. A hand whisk is not sufficient. You need a motor to make homemade marshmallows properly.
The most likely cause is the gelatin mixture not being fully bloomed before the hot honey syrup was added, or the honey syrup not reaching a proper rolling boil. Make sure the powdered gelatin has fully absorbed the cold water first and that your syrup is genuinely boiling, not just simmering on medium heat, for the full minute. A candy thermometer reading of 115°C confirms you’re at the soft ball stage.
Sogginess means moisture absorption, either from the environment or because the honey syrup wasn’t heated to the right temperature. If the syrup didn’t reach the soft ball stage (115–118°C / 240–245°F), the marshmallow structure will be too loose and will absorb surrounding moisture quickly. Storage matters too: any air contact accelerates sogginess. Keep cut marshmallows in an airtight container with dusting powder coating all sides.
Usually drying out. Either the climate is very dry, they weren’t stored in an airtight container, or the honey syrup was heated too high. If this is recurring, pull the syrup off medium heat slightly earlier and aim for the lower end of the soft ball stage (115°C / 240°F). A lower syrup temperature produces softer homemade marshmallows.
Yes. Add a few drops of food colouring and any flavouring in the last 1–2 minutes of whipping, once the marshmallow mixture is already thick and holding its shape. Gel food colouring works better than liquid. Adding a few drops too early can deflate the mixture.
Yes. Three tablespoons of powdered gelatin is roughly equivalent to 9 gelatine sheets. Soak the sheets in cold water to bloom, squeeze out the excess cold water, then add to the mixer bowl before slowly pouring in the hot honey syrup.
Maple syrup or golden syrup work as a 1:1 substitute and behave similarly to light corn syrup in keeping the honey syrup smooth and preventing sugar crystals. Avoid swapping to caster sugar or granulated sugar without adjusting technique. Dissolving caster sugar requires stricter temperature control and changes the process significantly.
Follow the recipe exactly as written. Once set, use a pizza cutter on a dusted cutting board to cut into small squares. Toss each mini marshmallow thoroughly in a sugar and cornstarch or icing sugar mixture so every side is fully coated.
Yes, our marshmallow recipe has no gluten-containing ingredients. Always check your powdered gelatin and vanilla extract labels individually if you have coeliac disease.
A rolling boil on medium heat for a full minute is your guide. The honey syrup should be bubbling vigorously across the entire surface, not just simmering at the edges. If you have a candy thermometer or sugar thermometer, 115–118°C is the soft ball stage and the target for this recipe.

Persian Rocky Road Recipe (no refined sugar, no additives)
We show you Australia’s best rocky road recipe, made with dark chocolate, marshmallows, pistachios, almonds, [...]

Chocolate Self-Saucing Pudding Recipe (Gluten Free & Egg Free)
Our chocolate self-saucing pudding is gluten free and egg free. As it bakes, the pudding [...]

Lemon Myrtle Tea Cake
This lemon myrtle tea cake is proof that there’s something undeniably lovely and nostalgic about [...]

Home Made Chocolate Recipe
Enjoying rich, velvety homemade organic chocolate is a sensory journey unlike any other. Beyond its [...]